

Users of a client account
A client can give a colleague or a developer their own sign-in to the account, instead of sharing the password. Each user gets only the permissions the client chooses.
Invite a user
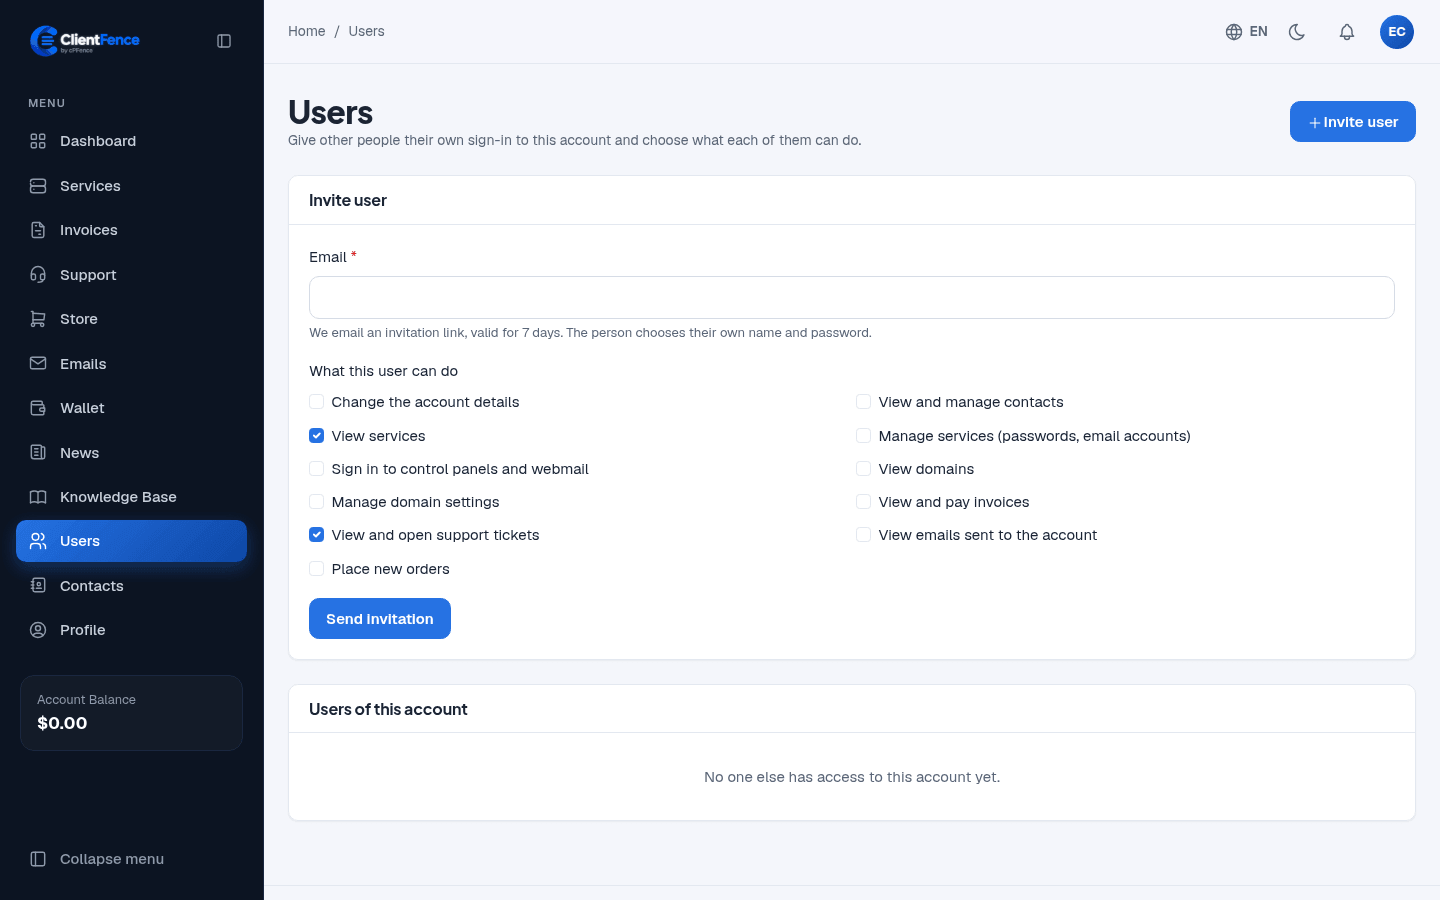
Section titled “Invite a user”- In the client area, select Users in the menu.
- Select Invite user and enter their Email.
- Under What this user can do, tick the permissions, such as View and pay invoices or View and open support tickets.
- Select Send invitation.
The person gets an email link, valid for 7 days, and chooses their own name and password. Until then the invitation is under Pending invitations, with Send again and Cancel.
Change or remove a user
Section titled “Change or remove a user”Select Change permissions or Remove next to the user.
Profile
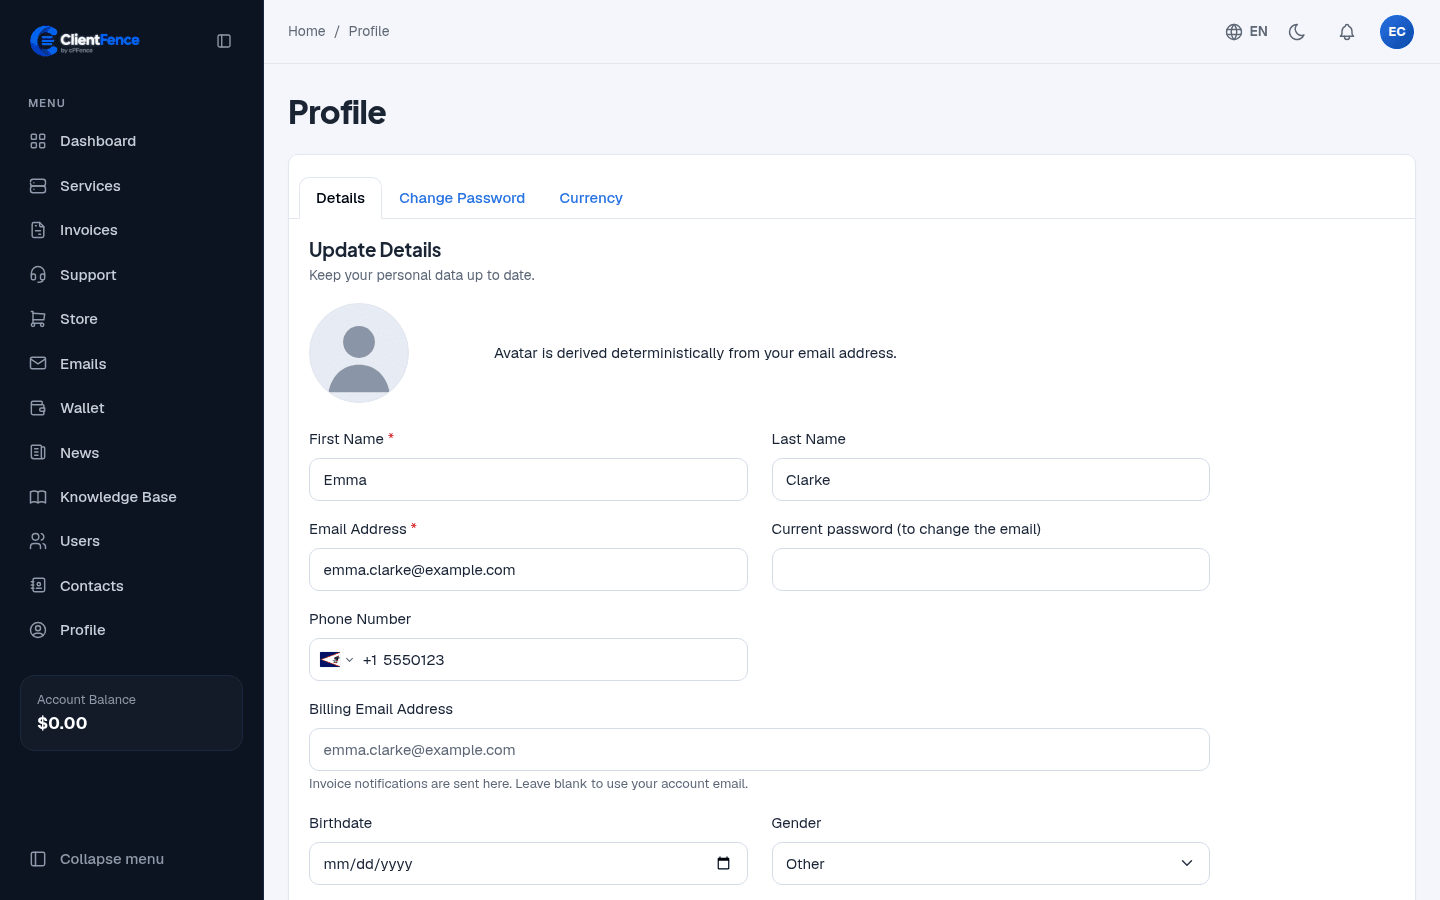
Section titled “Profile”Users sign in on the normal sign-in page with their own email. The account owner keeps the account details and password on Profile. A user’s profile holds only their own name and password, which they use for every account they have access to.
Staff see and manage the users of a client on the client’s page in the admin area, on the Users tab. Staff need the appropriate client profile and password permissions to invite users or change account ownership.
For people who only need email copies, use Contacts. Contacts cannot sign in.