

Email settings and history
ClientFence sends invoices, ticket replies and other notices by email. Emails wait in a queue and the cron sends them in the background.
Set up sending
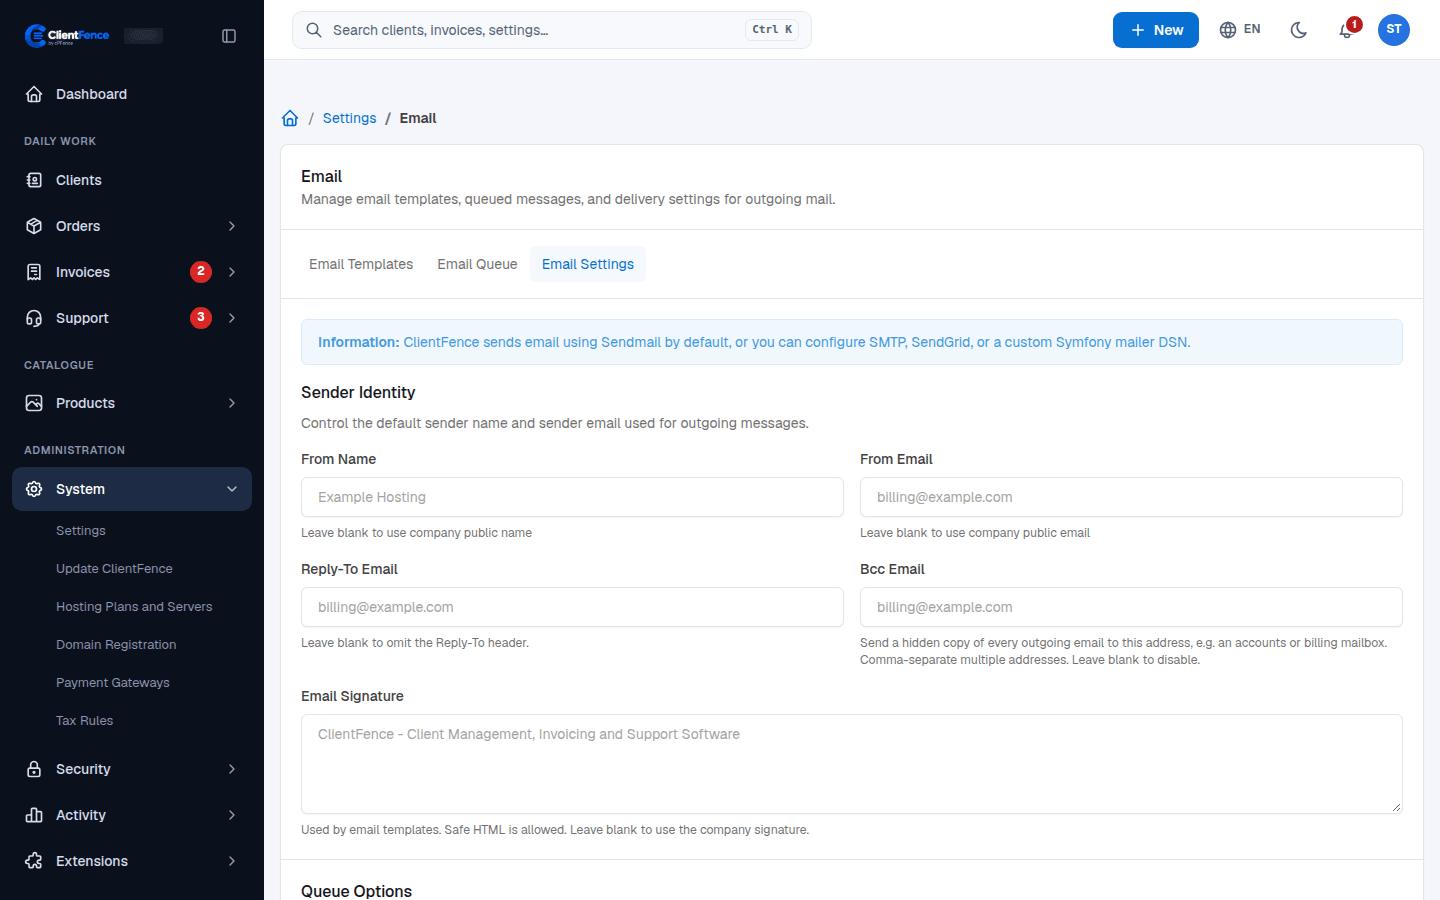
Section titled “Set up sending”- Go to System → Settings and open the Email card.
- Open the Email Settings tab.
- Under Email Transport, choose SendMail (the default), SMTP, SendGrid or a Custom DSN, and fill in its details.
- Under Sender Identity, set From Name and From Email. Leave them blank to use your company details. Reply-To Email, Bcc Email and Email Signature are optional.
- Select Update Email Settings, then Send a Test Email to Yourself.
The Email Queue tab shows emails that are still waiting and how often sending was tried.
Edit an email
Section titled “Edit an email”The Email Templates tab holds the text of every email. See Edit email templates.
Email history
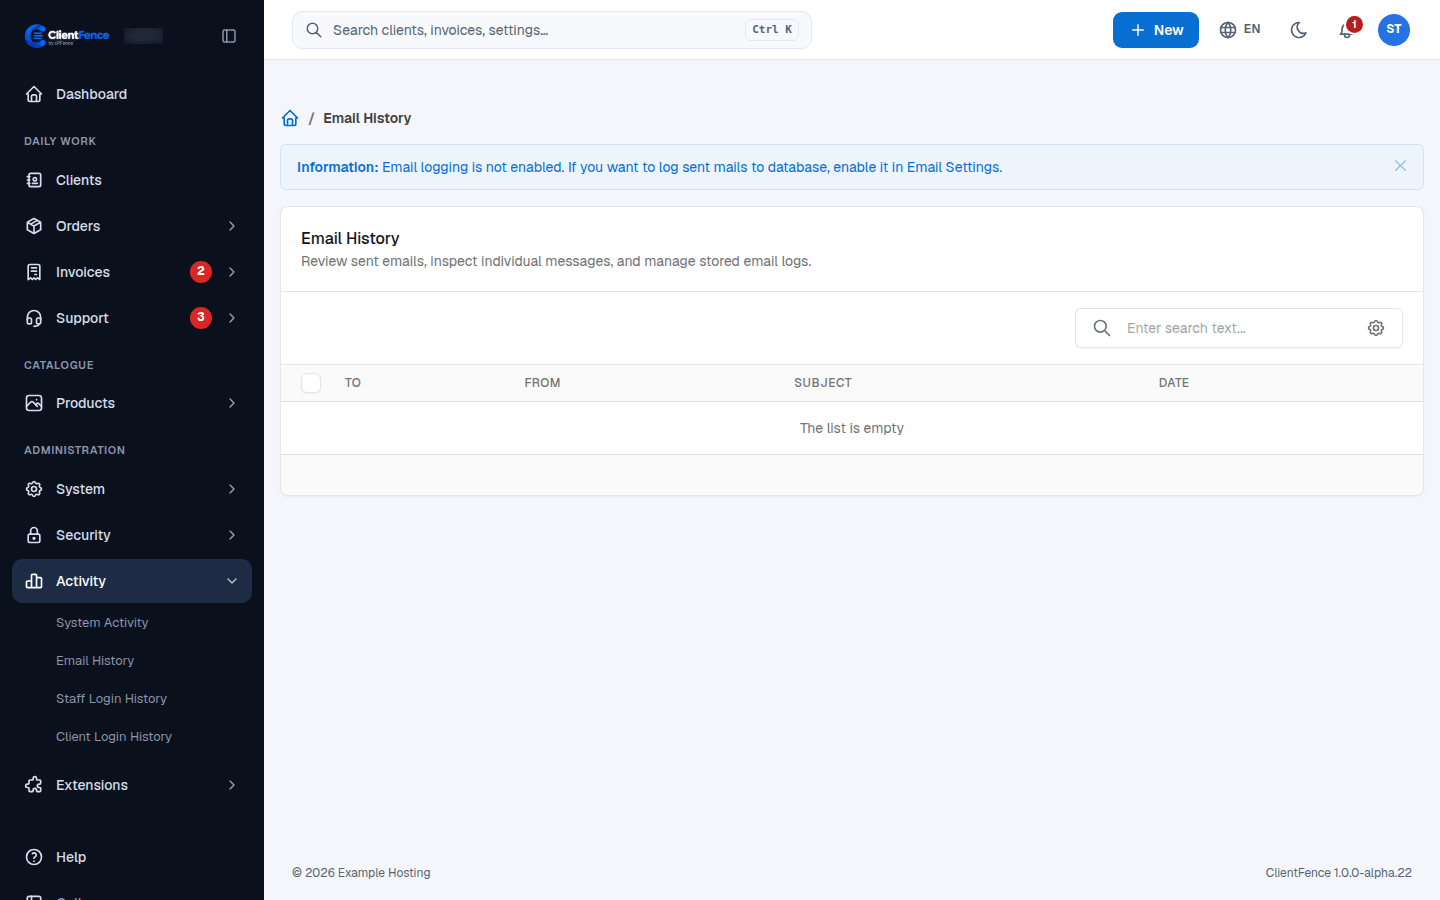
Section titled “Email history”Turn on Log Sent Emails to Database in Email Settings to keep a copy of every sent email. Then Activity → Email History lists them, and clients see theirs under Emails. It is off by default.
For incoming help desk mail, see Email-to-ticket. Account security emails such as password-reset links and sign-in codes are sent directly. If delivery fails, fix the mail connection and ask the user to request a new link or code.
If delivery stalls, use Troubleshoot queued email to inspect attempts, correct the transport and resend retained messages.