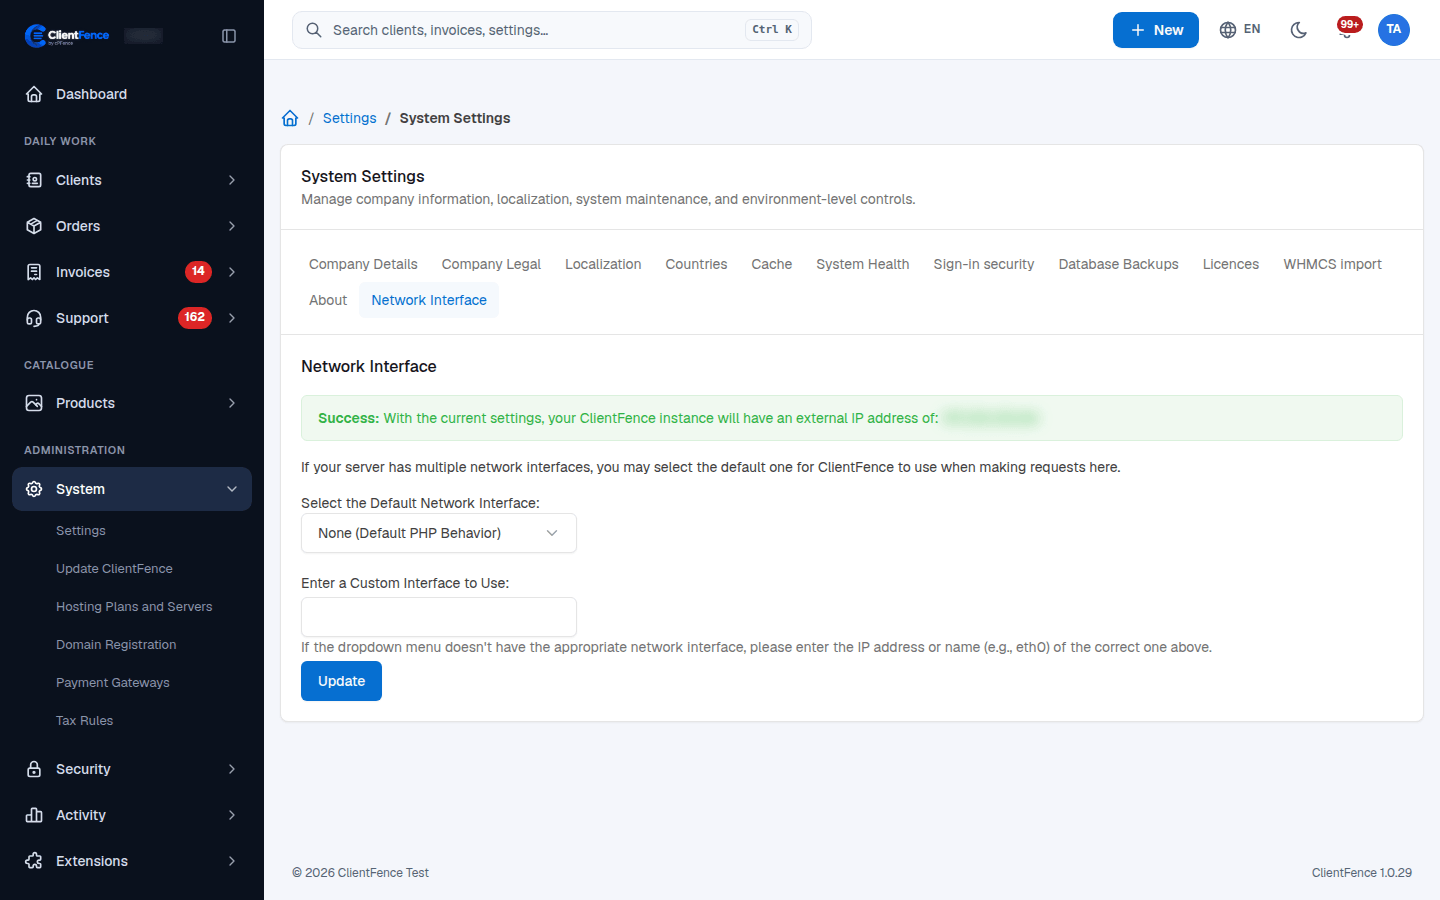

Choose an outgoing network interface
Use this setting when outgoing requests must leave your server through a particular local address or interface.
- Go to System → Settings → System → Network Interface.
- Under Select the Default Network Interface:, keep the default unless your hosting setup requires a specific interface.
- Select a listed interface, or enter its local IP address or name, such as
eth0, under Enter a Custom Interface to Use:. - Save and check the connectivity result. Then test the affected integration, such as its server connection test.
The address must belong to this server. A remote service’s IP is not a local interface. The general connectivity check does not prove that every provider endpoint can be reached.
If requests stop working after the change, return to the default interface and test again. For an integration that still fails, check DNS, credentials and that provider’s connection requirements.
This changes outgoing requests that use ClientFence’s configured interface; it does not change the website’s listening address or configure the server’s network.