

Move from WHMCS to ClientFence
The WHMCS import copies a whole WHMCS install into ClientFence. It only reads the WHMCS database: nothing changes in WHMCS, and nothing is emailed, charged or created on a server.
What you need
Section titled “What you need”- A fresh install. The import keeps WHMCS’s ids and invoice numbers, so it does not start on an install that already has data.
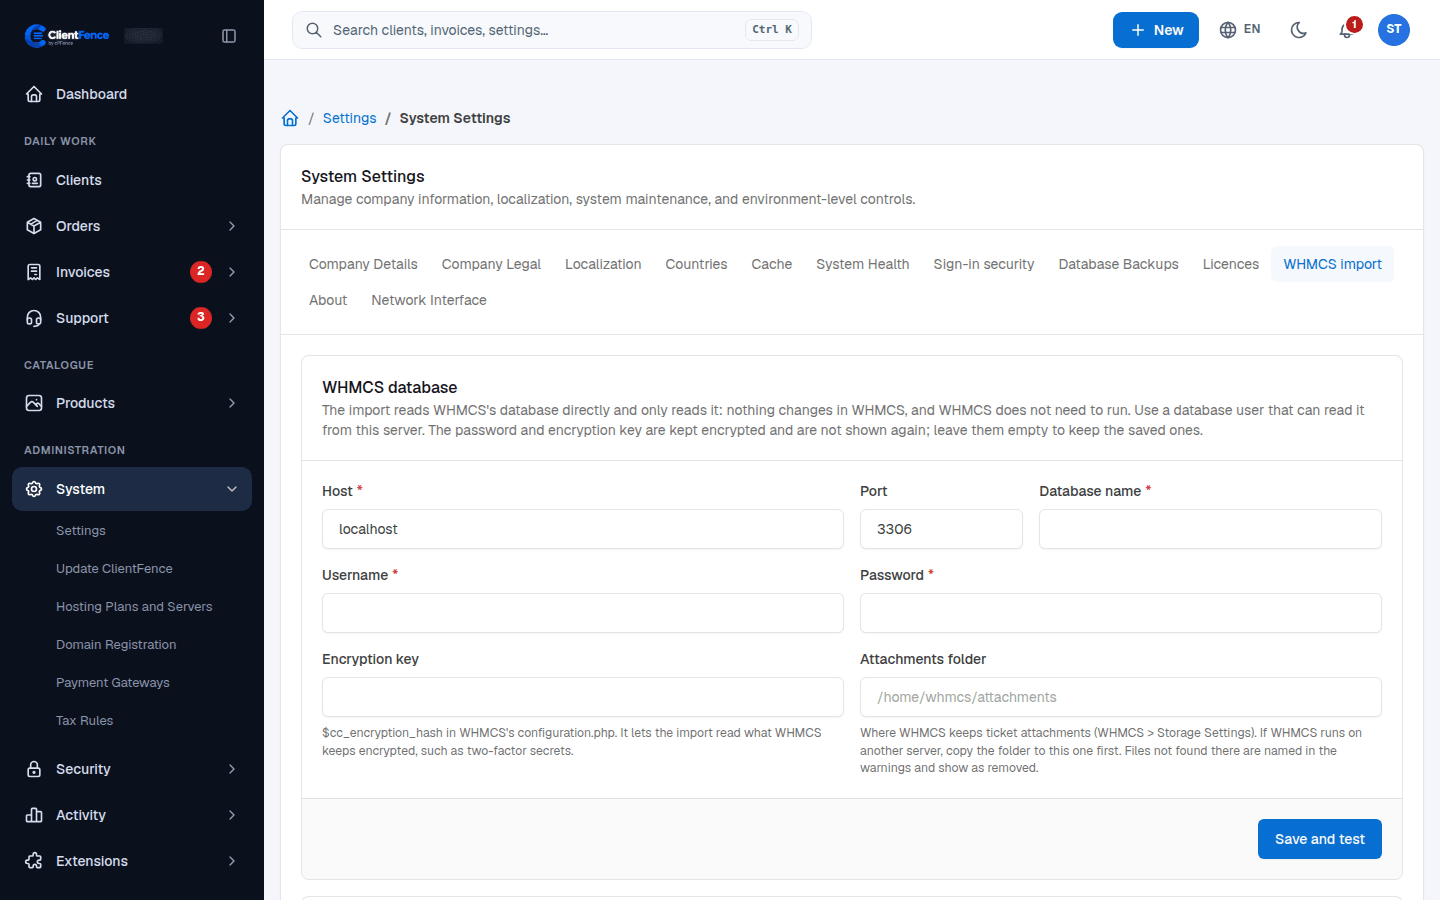
- A database user that can read the WHMCS database from this server.
- The Encryption key:
$cc_encryption_hashin WHMCS’sconfiguration.php. Without it, two-factor sign-in does not come over. - The Attachments folder of WHMCS tickets, copied to this server if WHMCS runs elsewhere.
- The same payment gateways set up here.
Run the import
Section titled “Run the import”- Go to System → Settings → System and open the WHMCS import tab (Super Administrators only).
- Fill in the WHMCS database details and select Save and test.
- Select Make the plan: what WHMCS holds, what happens to it, and server checks to fix.
- Select Start the import and keep the page open. If it stops, fix the cause and select Go on with the import.
What comes over, and what does not
Section titled “What comes over, and what does not”Clients and their logins, the catalogue, services and domains, invoices, payments and credit, tickets with attachments, the knowledge base, announcements, and email history. Open cancellation requests, inclusive tax, free domain renewal settings, and Hebrew client language preferences also carry over where present.
Not imported: hosting account passwords, product bundles and quotes. A login whose password cannot be checked here uses Forgot Password?. Add-on modules without a ClientFence counterpart go to an archive file next to the backups.
After the import
Section titled “After the import”- Select Check against WHMCS and read the Warnings.
- Staff and hosting servers come over switched off. Switch them on when you move over.
Command line
Section titled “Command line”Save and test the WHMCS connection in the admin area first. In the ClientFence directory,
run the commands below as the site user. The memory setting applies only to these runs.
Review the plan and fix blockers before running the next command. The apply step imports into the target database.
php -d memory_limit=512M console.php clientfence:whmcs-import planphp -d memory_limit=512M console.php clientfence:whmcs-import applyphp -d memory_limit=512M console.php clientfence:whmcs-import verifyReview the verification report before enabling imported staff and servers.