
Manage clients
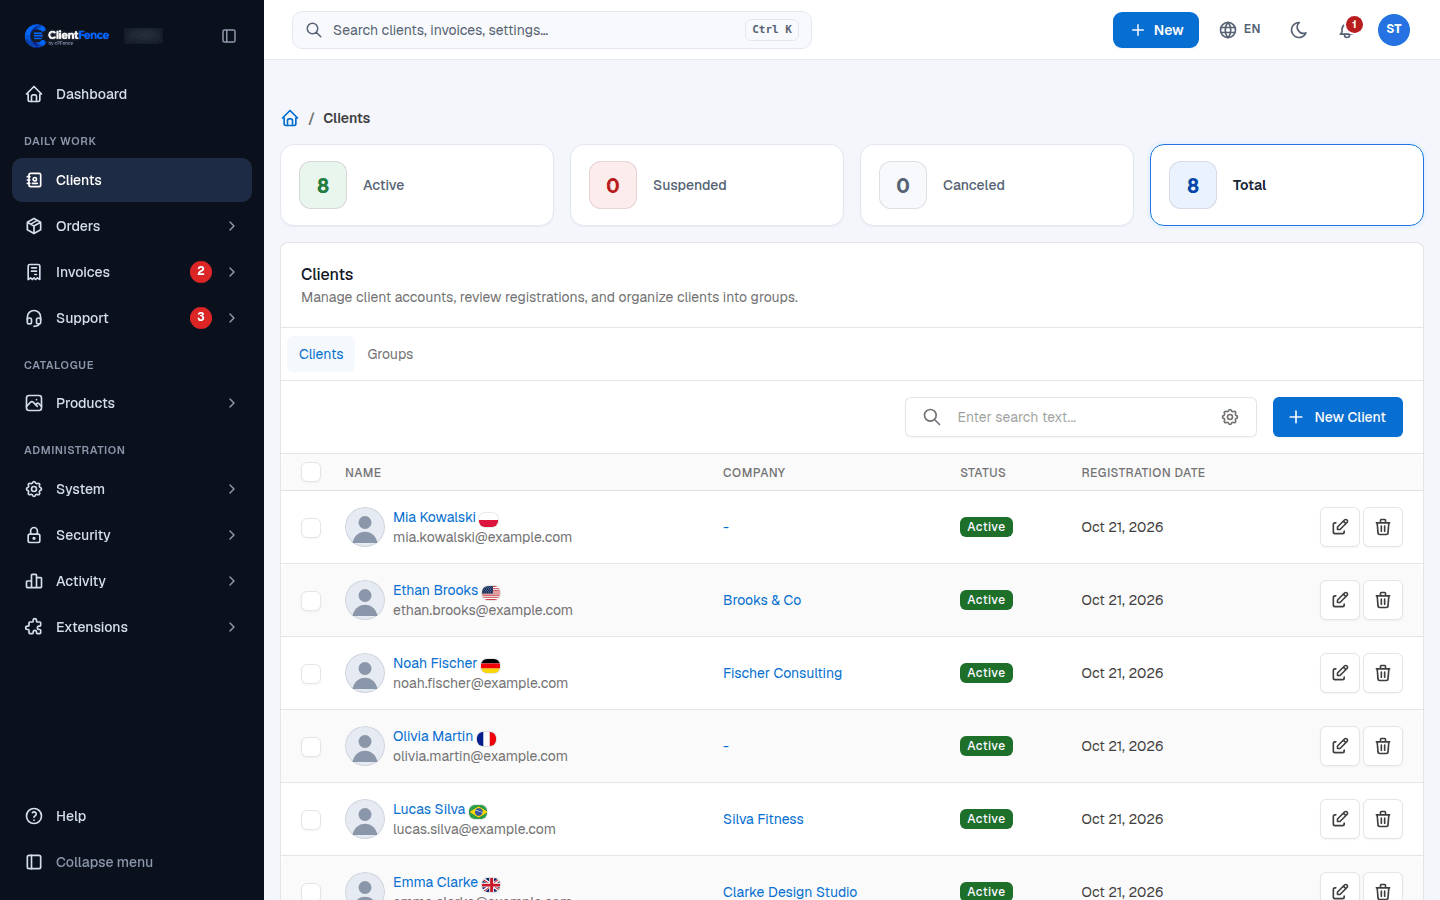
Clients in the admin menu lists every client account, with counts of active, suspended and canceled clients at the top.
Add a client
Section titled “Add a client”- Go to Clients and select New Client.
- Fill in the name, email and the other details, then save.
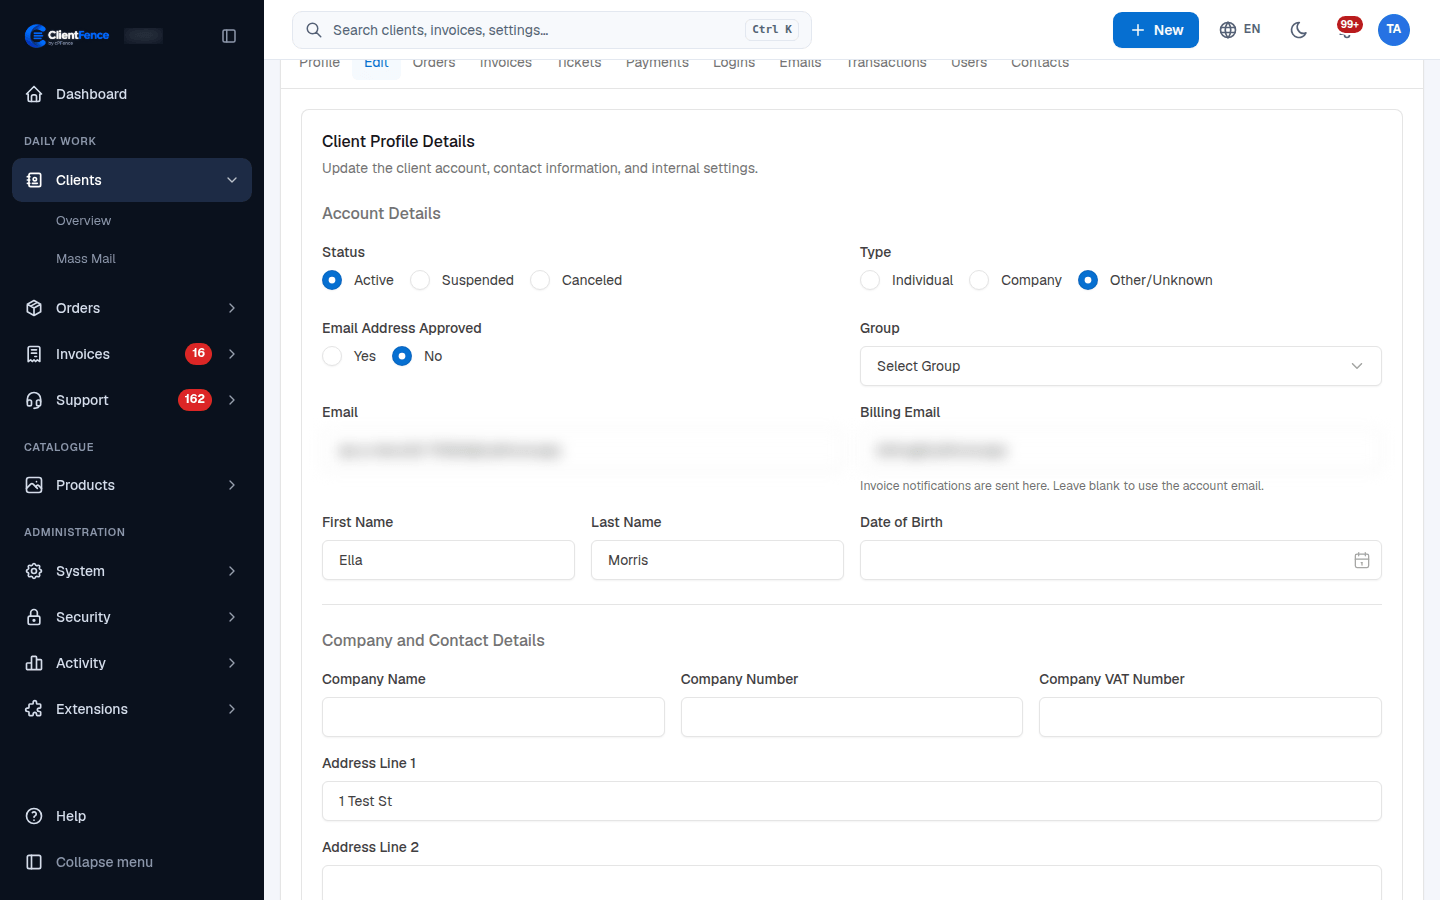
To sort clients, open the Groups tab and add a group. Pick the group on the client’s Edit tab.
One client’s page
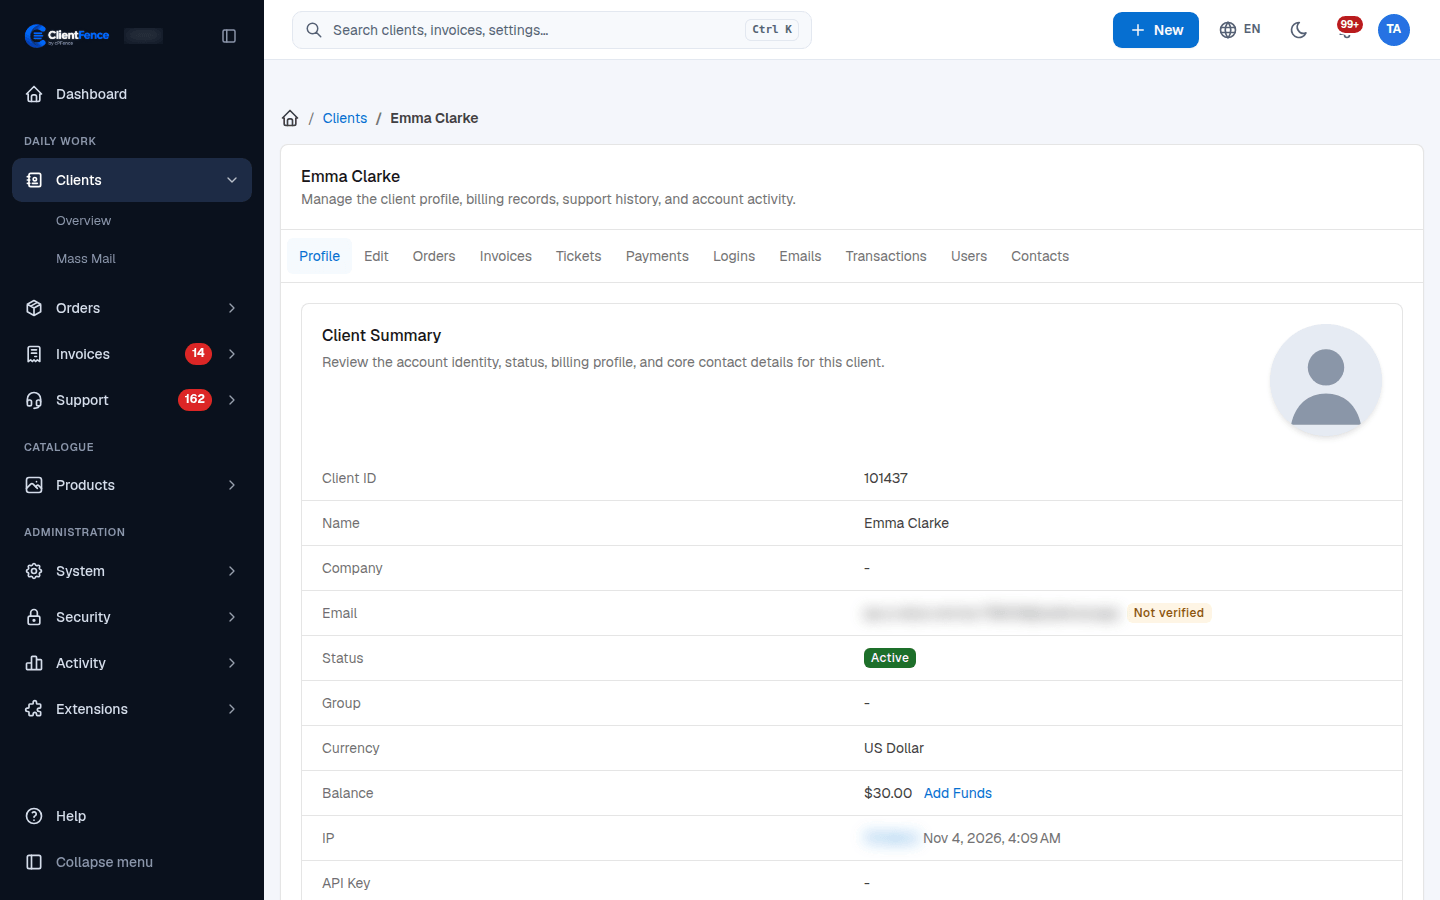
Section titled “One client’s page”Select a client’s name to open their page. In Client Summary, use Other Actions to download an Account Statement (PDF). Select services or domains in the summary to issue renewal invoices for those selections. Use Admin Notes and Files in the summary for information only staff can see.
| Tab | What it is for |
|---|---|
| Profile | The summary, plus Login to Client Area, Export Data, Anonymize and Delete. |
| Edit | Contact details, status, group, currency, Exempt from Tax and a new password. |
| Orders, Invoices, Tickets | See the client’s records. The Tickets tab shows ticket counts by period and lets you search this client’s tickets. |
| Payments | See total in, total out, and balance. Use Add Funds to add credit by hand. |
| Users | People with their own sign-in and permissions. See Client users. |
| Contacts | People who receive selected email copies and do not sign in. See Email contacts. |
See GDPR tools and client data for client requests, exports, and the checks before anonymization.
Use a separate billing email
Section titled “Use a separate billing email”- Open the client and select Edit.
- Set Billing Email to the accounts mailbox and save.
- Check the recipient when sending the next invoice or payment notice.
Email remains the client’s sign-in address. Billing Email receives billing messages instead; leave it blank to use the main email. Changing it does not create another user or contact. Use Contacts when more people need selected copies.
For a dated ledger and PDF, see Account statements.