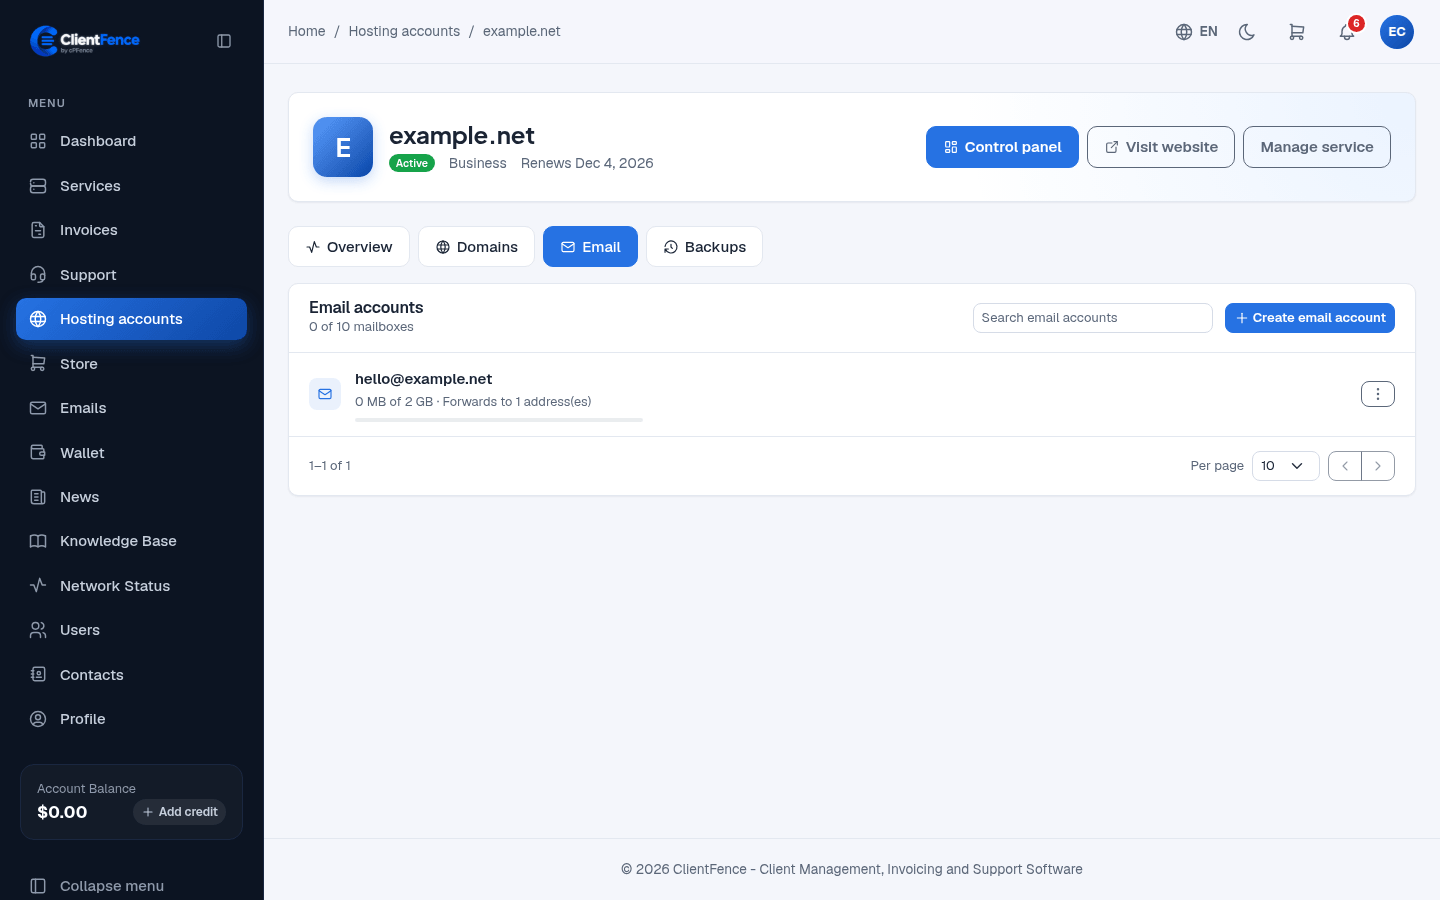

Manage hosting email accounts
Email controls appear for hosting accounts whose panel supports them. Suspended accounts can be viewed but cannot be changed.
- In the client area, open Hosting accounts, select the account and choose Email.
- Select Create email account. Choose the domain and name before
@. - Enter a password for a mailbox, or forwarding destinations for a forwarding-only address. Set a mailbox quota if needed, then select Create.
- Search the list for the new address and open its actions menu.
| Action | Use it to |
|---|---|
| Webmail | Open the available webmail sign-in page or one-time sign-in link. |
| Mail app settings | Find the username, incoming/outgoing servers, ports and security settings. |
| Size and forwarding | Change mailbox quota and forwarding destinations. |
| Change password | Replace the mailbox password; update saved mail-app credentials too. |
| Automatic reply | Set the message, start date and optional end date. |
| Delete | Remove the address from the hosting account. |
The plan’s mailbox allowance applies across its websites. Forwarding-only addresses have no mailbox to open in webmail. A mailbox’s availability does not prove its domain receives email here: check DNS status if incoming messages go elsewhere.