
Custom pages for the client area
Custom Pages lets you write your own pages, such as service terms or a welcome guide, and
show them in the client area at /page/<slug>. If it is off, turn on Custom Pages in
Extensions → Overview first.
Write a page
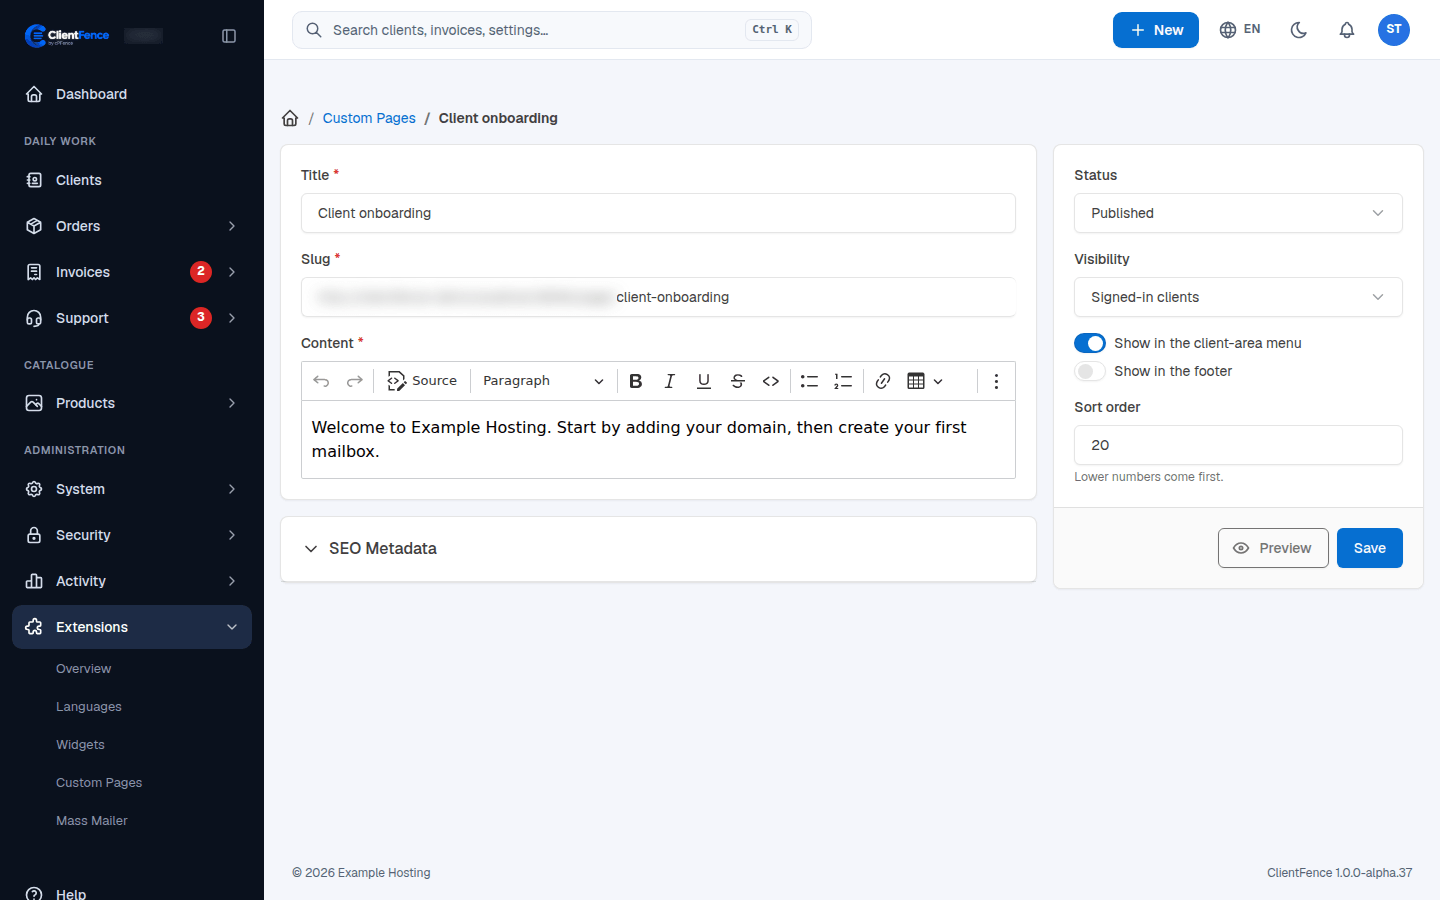
Section titled “Write a page”- Go to Extensions → Custom Pages and select New Custom Page.
- Write a Title. The Slug (the page’s address) is filled from the title until you
change it. A title with no Latin letters gives the slug
page. - Write the Content in the editor. Optional: open SEO Metadata for the meta description and keywords.
- Set the options in the table below.
- Select Create.
| Option | What it does |
|---|---|
| Status | Published shows the page. Draft gives everyone “page not found” (404). |
| Visibility | Everyone includes signed-out visitors. Signed-in clients sends visitors to sign in. Clients with an active service also sends visitors to sign in, and gives signed-in clients without an active service a 404. |
| Show in the client-area menu, Show in the footer | Adds a link to the page there, only for viewers who may see it. |
| Sort order | Orders the links: lower numbers come first. |
The page list
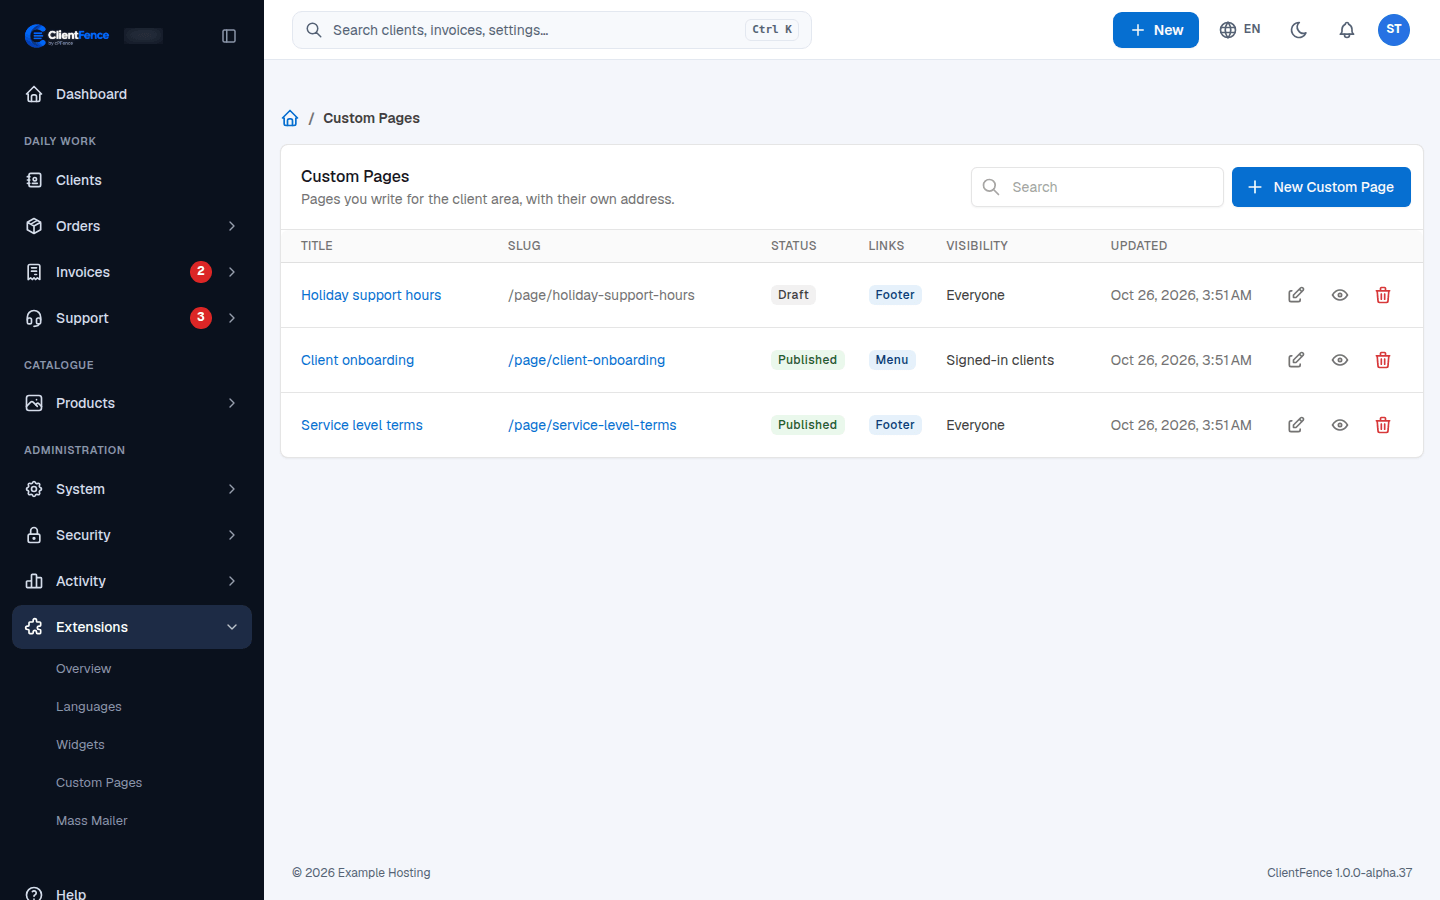
Section titled “The page list”Extensions → Custom Pages lists every page with its status, links and visibility. Search finds a page; the address of a published page opens it; the delete button asks you to confirm first.