

Staff accounts and groups
Every person on your team gets their own staff account. Groups decide what each of them can see and do. Go to System → Settings → Staff.
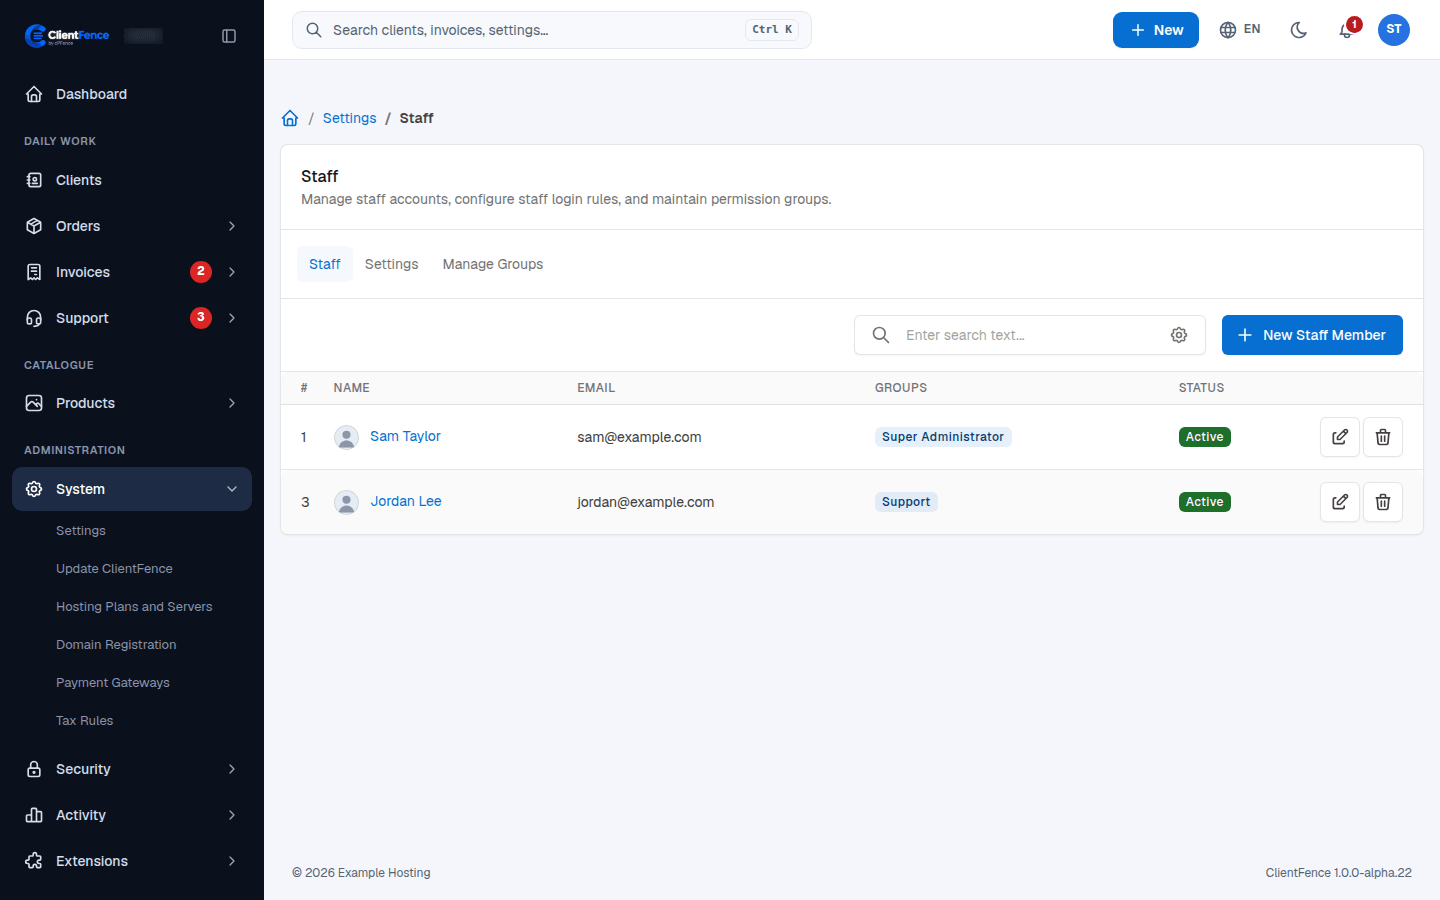
Add a staff member
Section titled “Add a staff member”- Select New Staff Member.
- Fill in Name, Email and Password, and choose an Initial group.
- Set Status to Active and select Create.
To change someone later, select the edit button on their row. There you can change their details, groups and password.
Groups and permissions
Section titled “Groups and permissions”- Open the Manage Groups tab and select New Group.
- Open the group and go to its Permissions tab.
- Choose what members may do in each module, then select Save permissions.
Super Administrator is a protected group with full access. Only Super Administrators create groups and change permissions.
Staff sign-in rules
Section titled “Staff sign-in rules”The staff sign-in rules (an email PIN, sign-in from listed IP addresses only, from chosen countries only) and staff password reset are under Security → Settings: see Sign-in security.
Give each group the permissions for its work. For example, ticket management allows staff to update tickets and network issues. Access to a module’s settings is controlled by that module’s Manage settings permission, separate from Extensions access. Changing client sign-in details or inviting users also needs Change client passwords. Seeing the values of ticket secrets needs Open ticket secrets. Sign in as a staff member of the group to check what they can see and change.